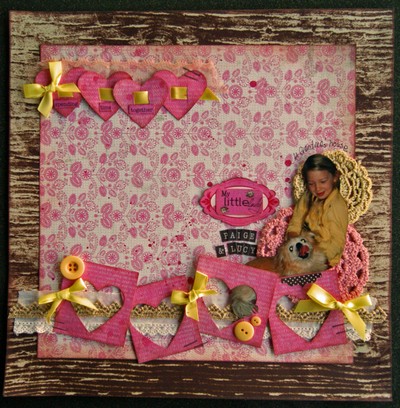
What about these fabulous Authentic papers - Lively
Here I've used Flutter (brown woodgrain), Bright (white and pink pp), and Spirited (pink paper)
STEP ONE
Punch out four hearts (mine is aprox 4 cms wide) and if you dont have a punch you could trace and cut out or hand draw and cut out.
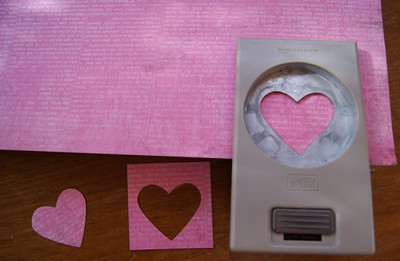
STEP TWO
Put the four hearts aside and cut out the negative heart shapes in a square-ish shape each as below
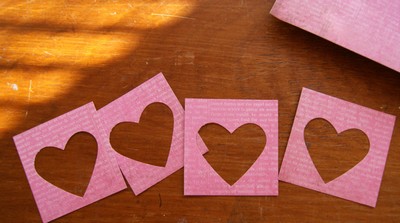
STEP THREE
Cut the white and pink pattern paper 3cms smaller on each edge (or 6cms on two sides - makes more sense - but it depends on the pattern of your paper you might pick to use?) Ink your edges. I totally love Prima's Rusty Bucket ink colour and it's a great mid-brown tone. Place the pp in the middle of the woodgrain paper
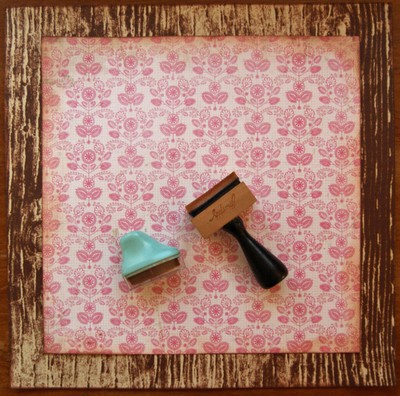
STEP FOUR
I totally LOVE this set of Webster's Trim and in this LO we will use four of them, but for this step we are using the cream and the gold trim
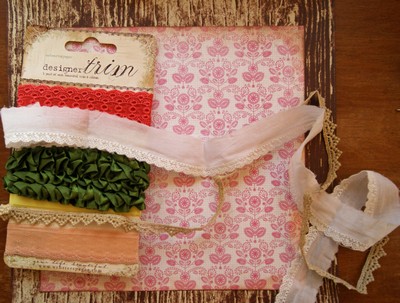
STEP FIVE
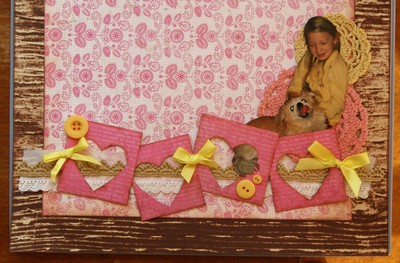
Stick the cream trim down with the gold over the top along the bottom of the LO. Ink up the heart negative shapes both on the inside and outside and stick along the trims
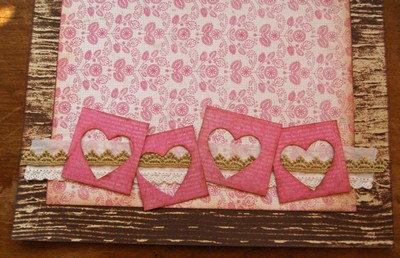
STEP SIX
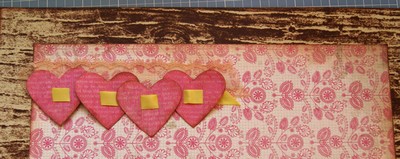
Back to the little hearts now..... make two little incisions 1cm apart on each of them so we can thread the yellow (I think its seam binding - very similar) through them.
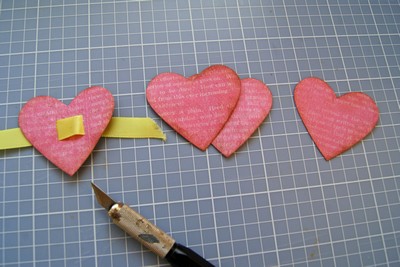
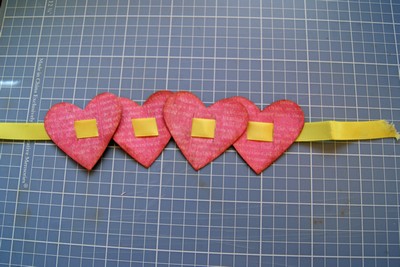
STEP SEVEN
Stick the apricot-y coloured sheer trim along the top of the LO (it makes a lovely sort-of backing to the hearts) and adhere your string of hearts so the trim is still seen above.
STEP EIGHT
Now its time to add your photo (I've cut mine out) and glue some doilies to give it texture underneath. The Prima doilies I've used here are sold out but there are still some in other colours here, here, here and here
STEP NINE
I've used two stickers (one on top of the other) from Lively Sticker sheet with a little polka dot bracket placed horizontally under the little dog to high-light her a little and the brown mini-alpha from Carefree Elements Add in some staples too.
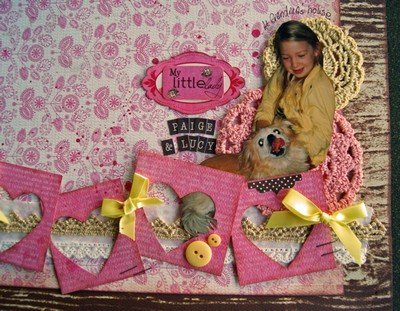
All done!


1 comment:
Beautiful work Mandy!
Post a Comment