
Karen's Christmas Project:
As Christmas and a load more photos approach, I thought that
it was time that I actually scrapped my photos from Ash's first three
Christmases.
I'm not going to do a December Daily Album as such. I am going to make a Christmas Album that I can add to over the years, to keep a record of all our Christmas memories in one place.
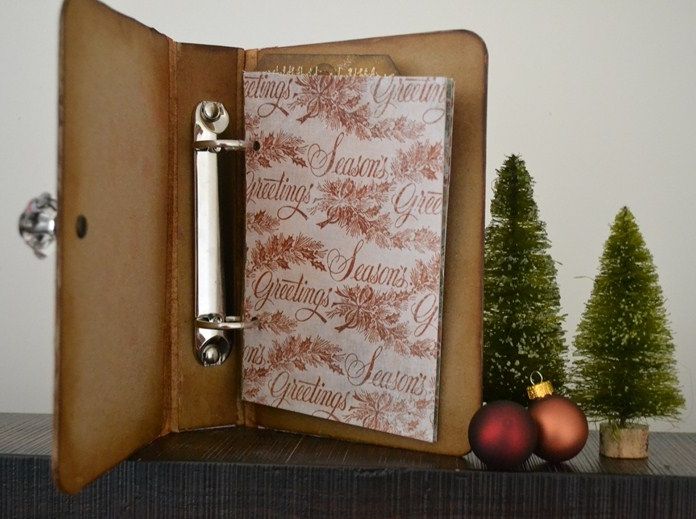
I have made my cover myself using some book board, paper, canvas, canvas tape and a binder ring.
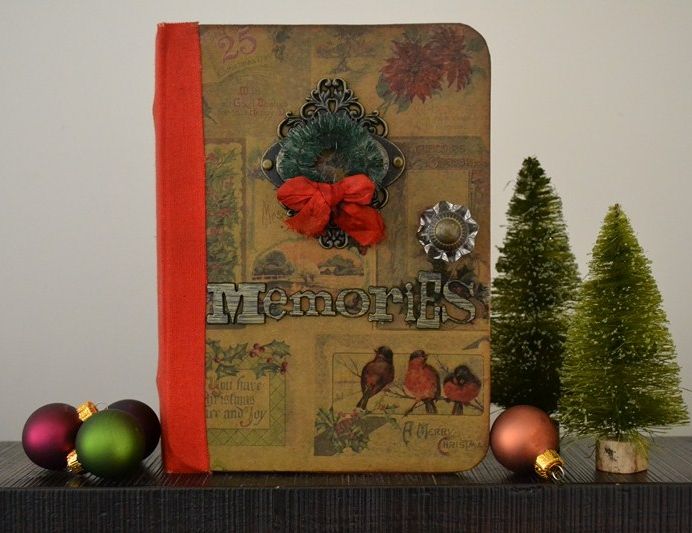
I look forward to adding pages, tags and other bits and pieces to it over the next few weeks, and can't wait to share with you.
Products Used:
Tim Holtz Kraft Resist Seasonal
Tim Holtz Ornate Plates
Tim Holtz Trimmings
Festive Berries Distress Ink
Sticky Back Canvas
Prima Cotton Tape
Box Board
I'm not going to do a December Daily Album as such. I am going to make a Christmas Album that I can add to over the years, to keep a record of all our Christmas memories in one place.
I have made my cover myself using some book board, paper, canvas, canvas tape and a binder ring.
I look forward to adding pages, tags and other bits and pieces to it over the next few weeks, and can't wait to share with you.
Products Used:
Tim Holtz Kraft Resist Seasonal
Tim Holtz Ornate Plates
Tim Holtz Trimmings
Festive Berries Distress Ink
Sticky Back Canvas
Prima Cotton Tape
Box Board
Mandy's Christmas Project
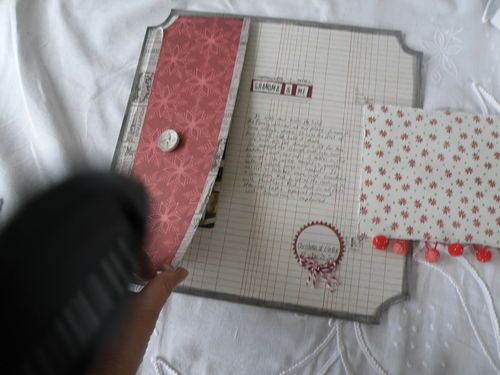
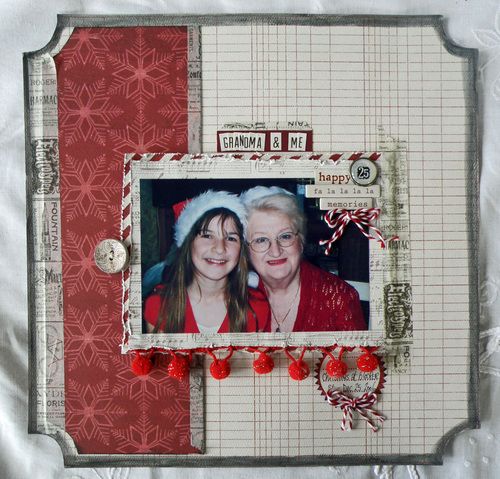
How about a bit of hidden journaling? I've used the Teresa Collins
Christmas Cottage Range
I know I'm not much of a journal-er (is there such a word ), but thought I'd have a bit of a go
at hidden journaling ,and this project somewhat grew from that
thought!
), but thought I'd have a bit of a go
at hidden journaling ,and this project somewhat grew from that
thought!
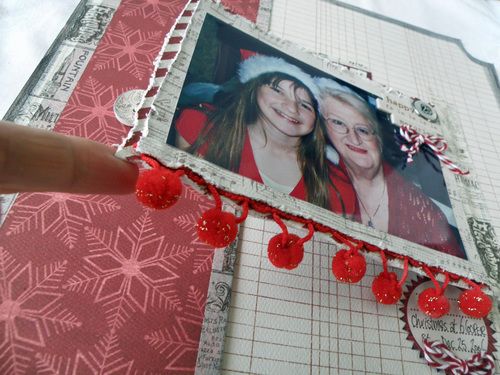
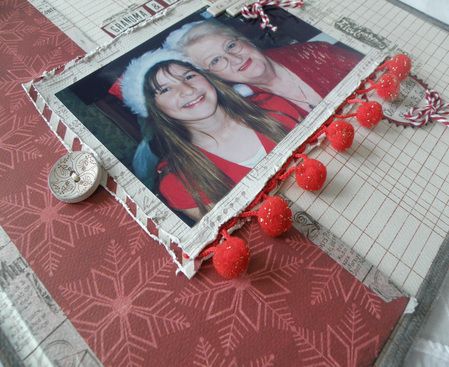
Hannah and her Grandma

And if you lift the photo flap..... (dont mind my finger ) Paper making up the flap
is Christmas
Cottage 'Music' and Christmas Cottage 'Tiny Flowers' reverse side.
) Paper making up the flap
is Christmas
Cottage 'Music' and Christmas Cottage 'Tiny Flowers' reverse side.
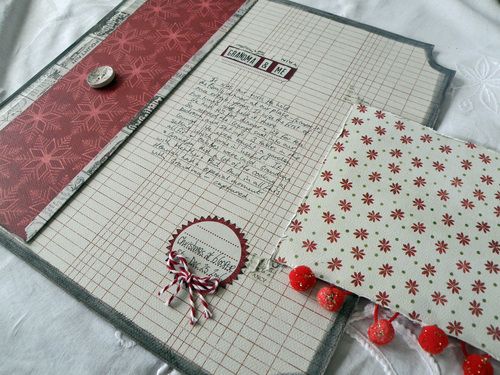
Underneath on the background paper paper (Teresa Collins Christmas Cottage Red Damask reverse side) you will find all the journaling. You could even add photos on the other side of the flap, but I'm yet to find the one I want out of my still packed boxes since the move to stick there (it'll turn up )
But thats not all.....
 .
.
If you lift the other full length flap (Christmas Cottage 'Red Snowflakes' Paper)......
........there's more room for photos/momentos etc

Now see that largeTeresa Collins Decorative Button in the image below? That holds it all together. And if you look at the image above..... there's a sticker covering the button stitching on the reverse side.
Here's how I did it...
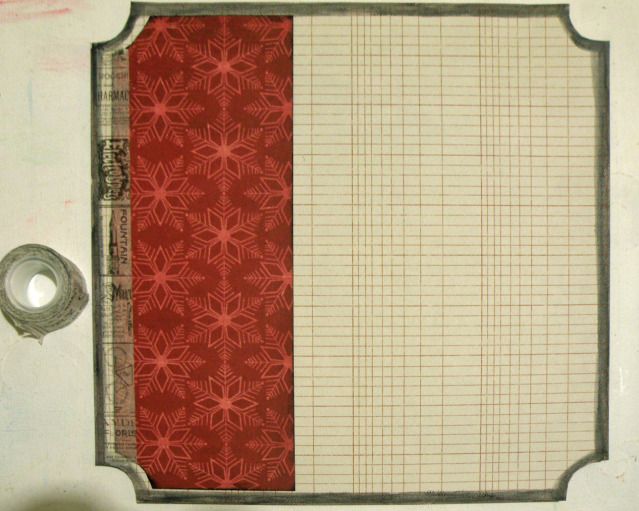
Cut the corners out of 12x12 paper background paper and colour in the edges with black watercolour pencil (sorry about some of the paper colour differences in the photos - the earlier steps where taken late at night)
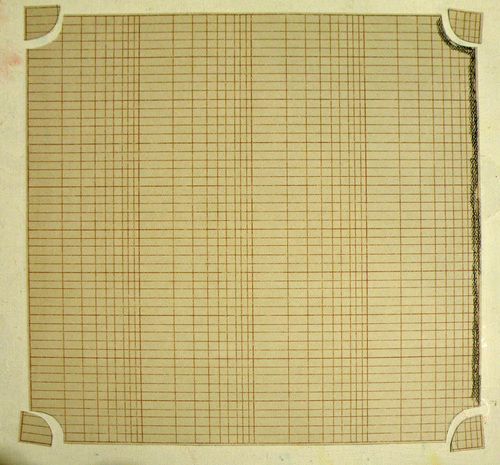
With water and a paintbrush, add to the black pencil edging so it 'watercolours', and cut a piece of contrasting(Teresa Collins Christmas Cottage Red Snowflakes) paper to fit longways as in the image below
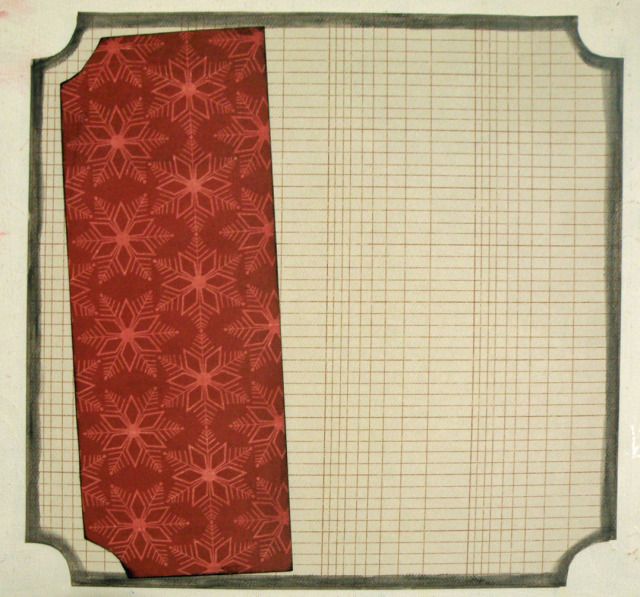
Put some fabulous Tim Holtz Tissue Tapedown both side of the long strip of contrasting paper and adhere to the background paper .This will form the 'file' part of the LO.
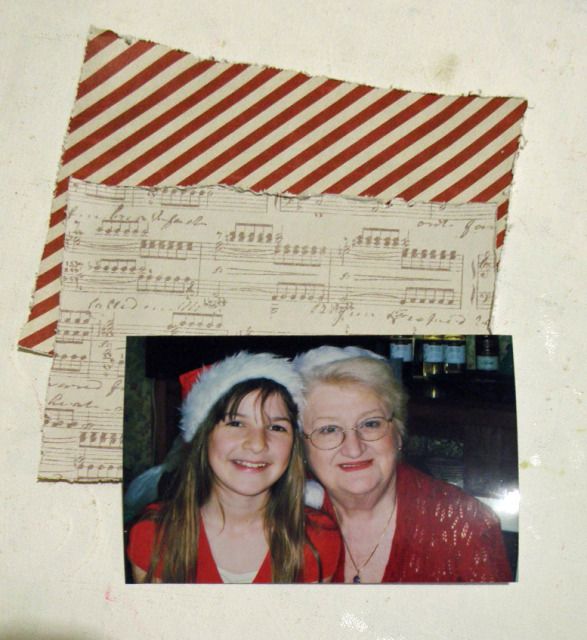
Double mount the photo onto the music and stripey paper and also 'hinge' the side down with Tim Holtz Tissue Tape
The rest is just adding embellishments both with the flaps open and closed
Christmas Cottage:
Chipboard Elements #1
Stickers #2
DieCut Accessory Sheet
Stickers #2
Christmas Cottage Trims
All is Bright Decorative Brads
I know I'm not much of a journal-er (is there such a word
Hannah and her Grandma
And if you lift the photo flap..... (dont mind my finger
Underneath on the background paper paper (Teresa Collins Christmas Cottage Red Damask reverse side) you will find all the journaling. You could even add photos on the other side of the flap, but I'm yet to find the one I want out of my still packed boxes since the move to stick there (it'll turn up
But thats not all.....
If you lift the other full length flap (Christmas Cottage 'Red Snowflakes' Paper)......
........there's more room for photos/momentos etc
Now see that largeTeresa Collins Decorative Button in the image below? That holds it all together. And if you look at the image above..... there's a sticker covering the button stitching on the reverse side.
Here's how I did it...
Cut the corners out of 12x12 paper background paper and colour in the edges with black watercolour pencil (sorry about some of the paper colour differences in the photos - the earlier steps where taken late at night)
With water and a paintbrush, add to the black pencil edging so it 'watercolours', and cut a piece of contrasting(Teresa Collins Christmas Cottage Red Snowflakes) paper to fit longways as in the image below
Put some fabulous Tim Holtz Tissue Tapedown both side of the long strip of contrasting paper and adhere to the background paper .This will form the 'file' part of the LO.
Double mount the photo onto the music and stripey paper and also 'hinge' the side down with Tim Holtz Tissue Tape
The rest is just adding embellishments both with the flaps open and closed
Christmas Cottage:
Chipboard Elements #1
Stickers #2
DieCut Accessory Sheet
Stickers #2
Christmas Cottage Trims
All is Bright Decorative Brads
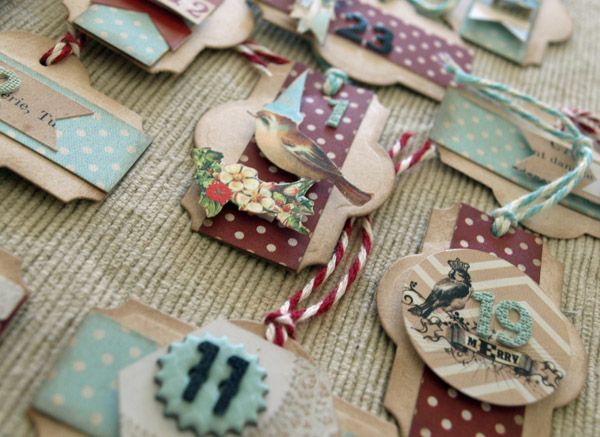
Julie's Christmas Project
At the end of last year when packing up the Christmas
decorations, I decided that it was time I created something new for our advent
calendar. I don't have a lot of room in the new place for something bulky but do
have a few pieces of furniture in the living area with little draws in them so
have made up 25 little drawer tags.
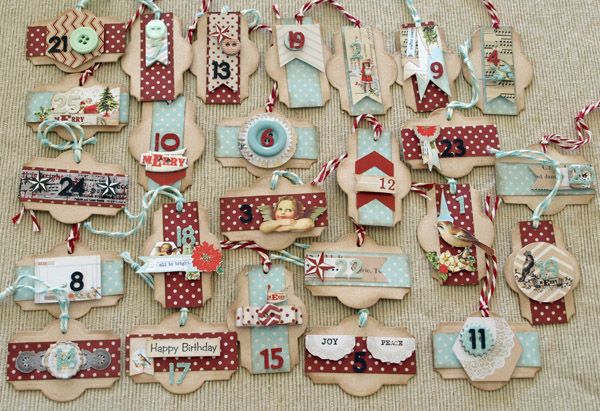
MME All is Bright 6x6 pad, Decorative Buttons, Twine and 6x4 Accessories Pack.
Spellbinders Nestabilities Labels 21 Die
Prima Alpha stickers Red, aqua and black.
Basic Grey Micro Mono Stickers White.
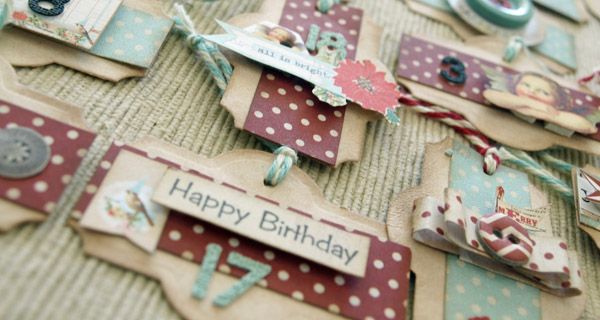
I am sure Missy will have fun putting out all these tags and then popping her little treats in them. Once we have them set up I will share a few more photos of them up in action.
MME All is Bright 6x6 pad, Decorative Buttons, Twine and 6x4 Accessories Pack.
Spellbinders Nestabilities Labels 21 Die
Prima Alpha stickers Red, aqua and black.
Basic Grey Micro Mono Stickers White.
I am sure Missy will have fun putting out all these tags and then popping her little treats in them. Once we have them set up I will share a few more photos of them up in action.
Note:
If you find any of the products have sold out due to being popular, send Lee-Anne a message and find out if it can be made available soon!
If you find any of the products have sold out due to being popular, send Lee-Anne a message and find out if it can be made available soon!
No comments:
Post a Comment