
Funky Christmas trees using circle Spellbinders
Step One
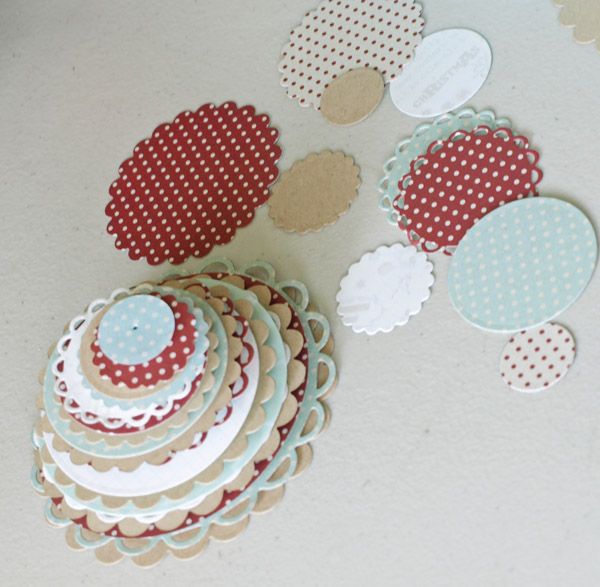
Cut out the circles.

A whole bunch of them. I did one of each in all three sets in a range of papers and kraft. In this photo I tried to do several at once but in the end I found it easier to do them one at a time. More time consuming but that way you can get the layers right. I kept to cutting the biggest in the three out of kraft.
Step One
Cut out the circles.
A whole bunch of them. I did one of each in all three sets in a range of papers and kraft. In this photo I tried to do several at once but in the end I found it easier to do them one at a time. More time consuming but that way you can get the layers right. I kept to cutting the biggest in the three out of kraft.
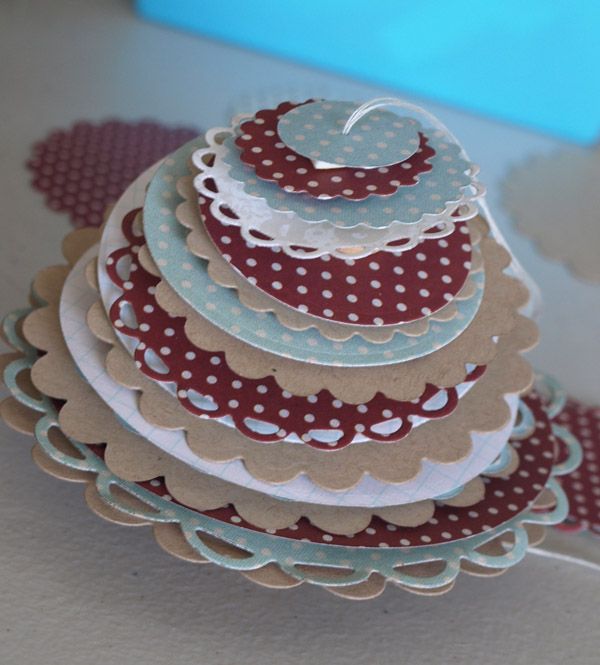
Step Two
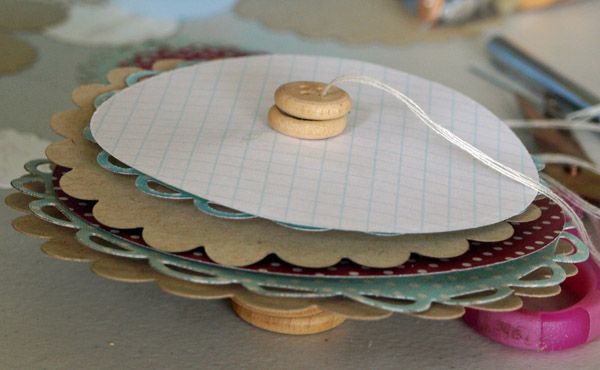
Layer the circles.
I sorted out how I felt the circles needed to go and then poked a hole in it. I wasn't too particular if it was centered or not and that way my tree ended up with it's funky lean.
The first three layers ended up having three and the top two had four. On each circle but the bottom in each layer I added some mounting tape either side of the hole.
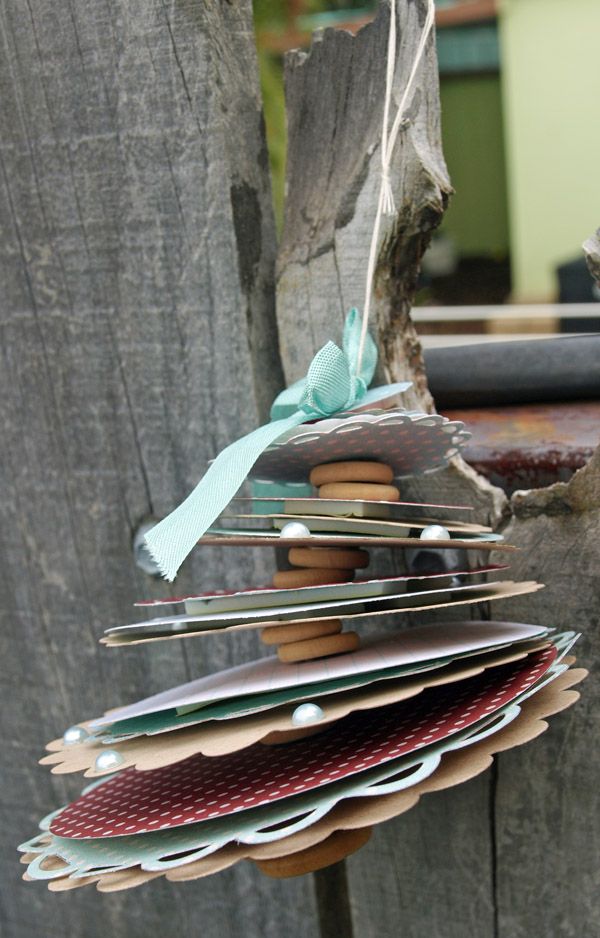
Step Three
Make tree trunk.
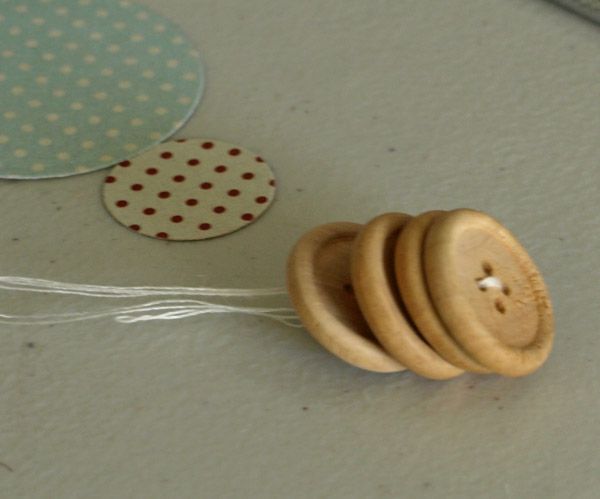
Thread a stack of buttons together and tie of in a knot. Pop a bit of glue on the top button and start layering the circles. I found it easier not to remove the backing from the mounting tape as I added each circle.
Make tree trunk.
Thread a stack of buttons together and tie of in a knot. Pop a bit of glue on the top button and start layering the circles. I found it easier not to remove the backing from the mounting tape as I added each circle.
Step Four
Add in more buttons.
To give my tree a bit of height I popped in two buttons between the layers.
Add in more buttons.
To give my tree a bit of height I popped in two buttons between the layers.
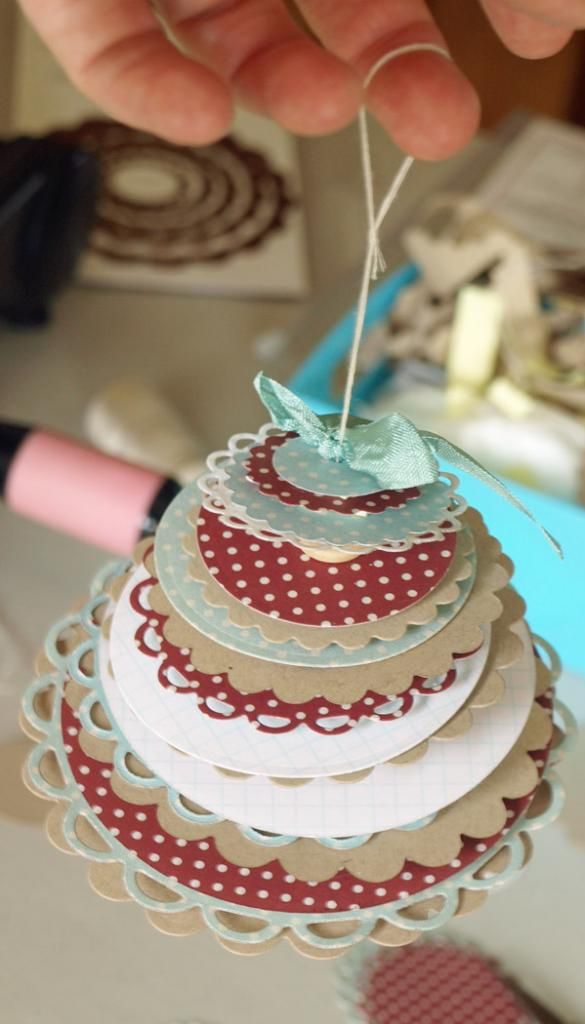
Step Five
Keep layering.
Keep layering.
Step
Six
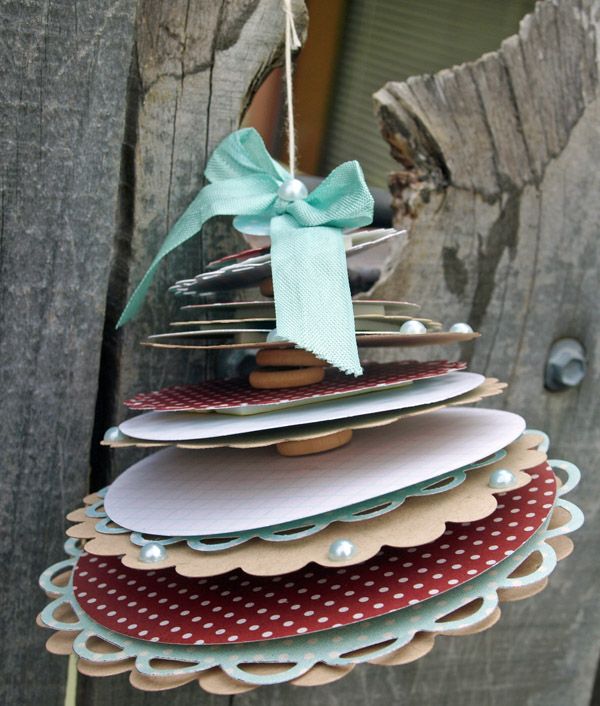
Sew on a ribbon, tie it in a bow and tie the end of the string to form a hanging loop and add in some pearls.
Sew on a ribbon, tie it in a bow and tie the end of the string to form a hanging loop and add in some pearls.
Using
MME All is Bright Merry, Noel Banner and Ephemera Frames papers. (Some of these I used from the 6x6 and accessories pad)
Kraft Cardstock
Spellbinders Classic Circles large, Scalloped Circles large and Eyelet Circles.
MME All is Bright Merry, Noel Banner and Ephemera Frames papers. (Some of these I used from the 6x6 and accessories pad)
Kraft Cardstock
Spellbinders Classic Circles large, Scalloped Circles large and Eyelet Circles.
No comments:
Post a Comment